


You don't have to convince upper elementary students that helping students build basic computer skills is important. We already that.
That doesn't make it easy to fit technology integration into our already overcrowded schedules.
Having 3rd, 4th, and 5th grade students review different skills while using technology is the most efficient and effective way to bring technology into our classrooms. Check out these 3 ways to integrate technology into your nonfiction text feature lessons!
1. Create a Text Feature Paper Slide Video
A paper slide is a short, simple video created using some sort of recording device (like an iPad) and blank sheets of paper. To create a text feature paper slide video, students create "slides" on paper showing examples of different text features, and then record themselves talking about the different nonfiction text features as they show the slides.
Watch the video below for a short example of a text feature paper slide video. Have students create something similar after creating a text feature booklet.
Text features paper slide from Kalena Baker on Vimeo.
2. Use Microsoft Word or Powerpoint to Create Text Features
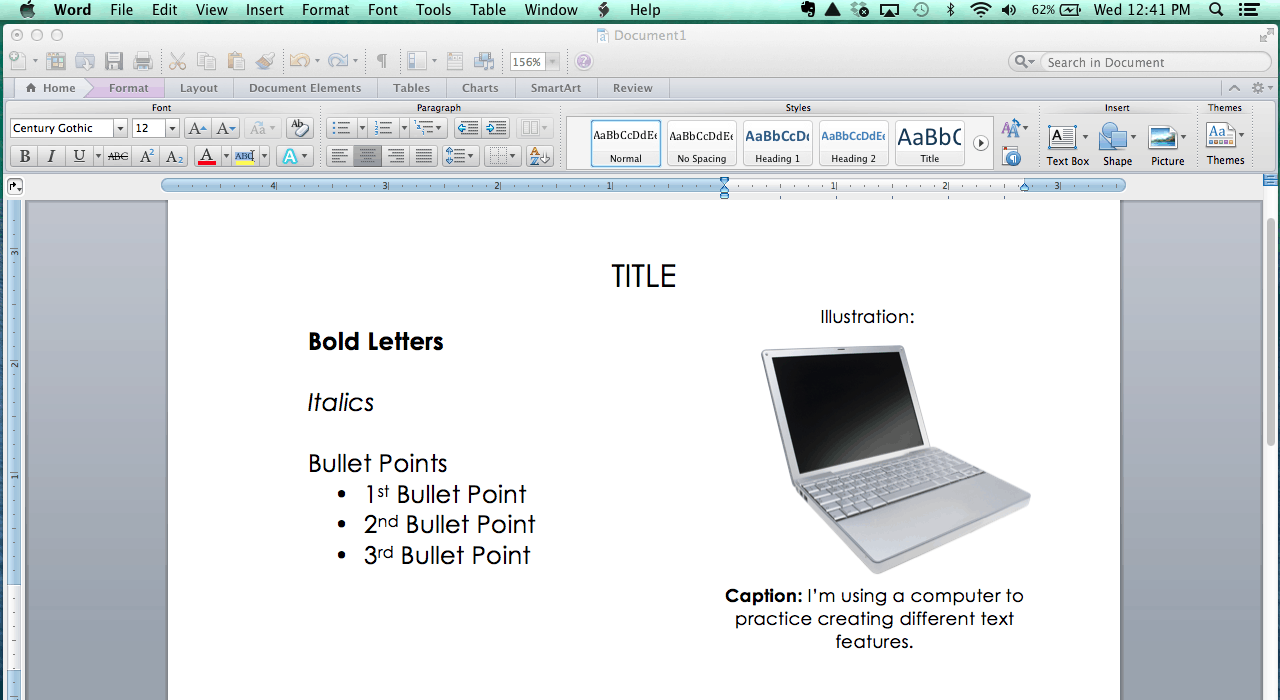
Have 3rd, 4th, and 5th grade students experiment with text features in Microsoft Word or Powerpoint. Students can easily create bold and italic words, add bullet points, insert illustrations (clip-art), and add captions.
Students that already understand the basics of Microsoft Word could add labels to illustrations, add a table, insert a photograph, or write a short article that incorporates text features.
Even if you don't have the time to have upper elementary students create a project, just allowing a little time for students to experiment with inserting these text features can be extremely valuable.
The screenshot below shows some quick examples.
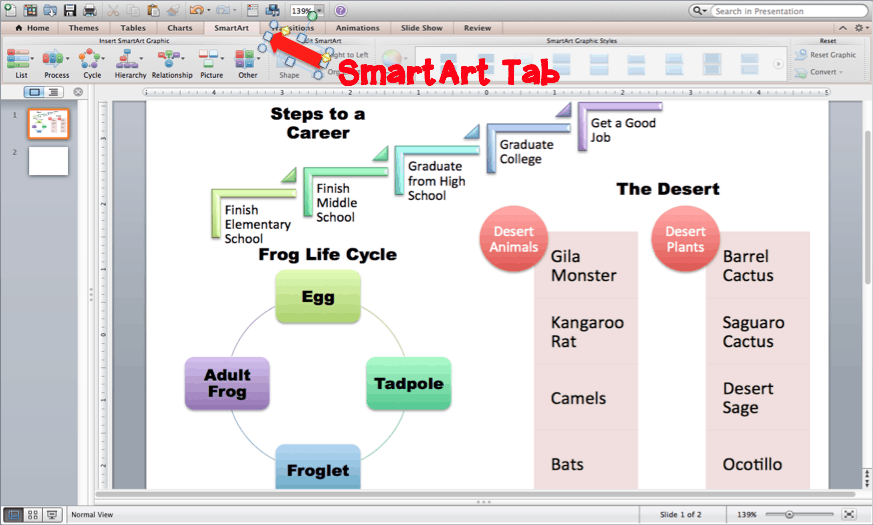
Students can also create charts, diagrams, and tables fairly easily in either Microsoft Word or Powerpoint, although Microsoft Powerpoint is considered more user-friendly. The SmartArt Tab has a variety of ready to use visuals that students can experiment with.
Encouraging students to find ways to represent information in a visual way requires the use of higher order thinking skills and is an extremely relevant skill in our world today.
The screenshot below shows a few examples of charts and diagrams created very quickly using the SmartArt Tab.
3. Take Pictures of Text Features Around the Room
If you have access to some digital cameras, have students go on a digital text feature scavenger hunt. Students can take pictures of all of the text features they find in your classroom. (You might also like this no prep idea for reviewing word study skills words around the classroom.)
Most teachers have anchor charts, posters, calendars, instructions, and other print up on their walls. Many of these things will have titles, heading, bullet points, bold letters, diagrams, and other text features on them.
Have students take pictures of as many different text features as they can find. If they get stuck, they can always pull out a nonfiction book or textbook.
If your school has a lot of print on the walls, you could also have your class take a mini "field trip" and look for text features to photograph around the school.
Consider using some of these pictures to create one of these text feature anchor charts.
Need more text feature resources? Check out these ideas, tips, activities, and freebies to help make lesson planning easier!
Or maybe these other ideas for integrating technology will help.
Want This Text Feature Freebie?
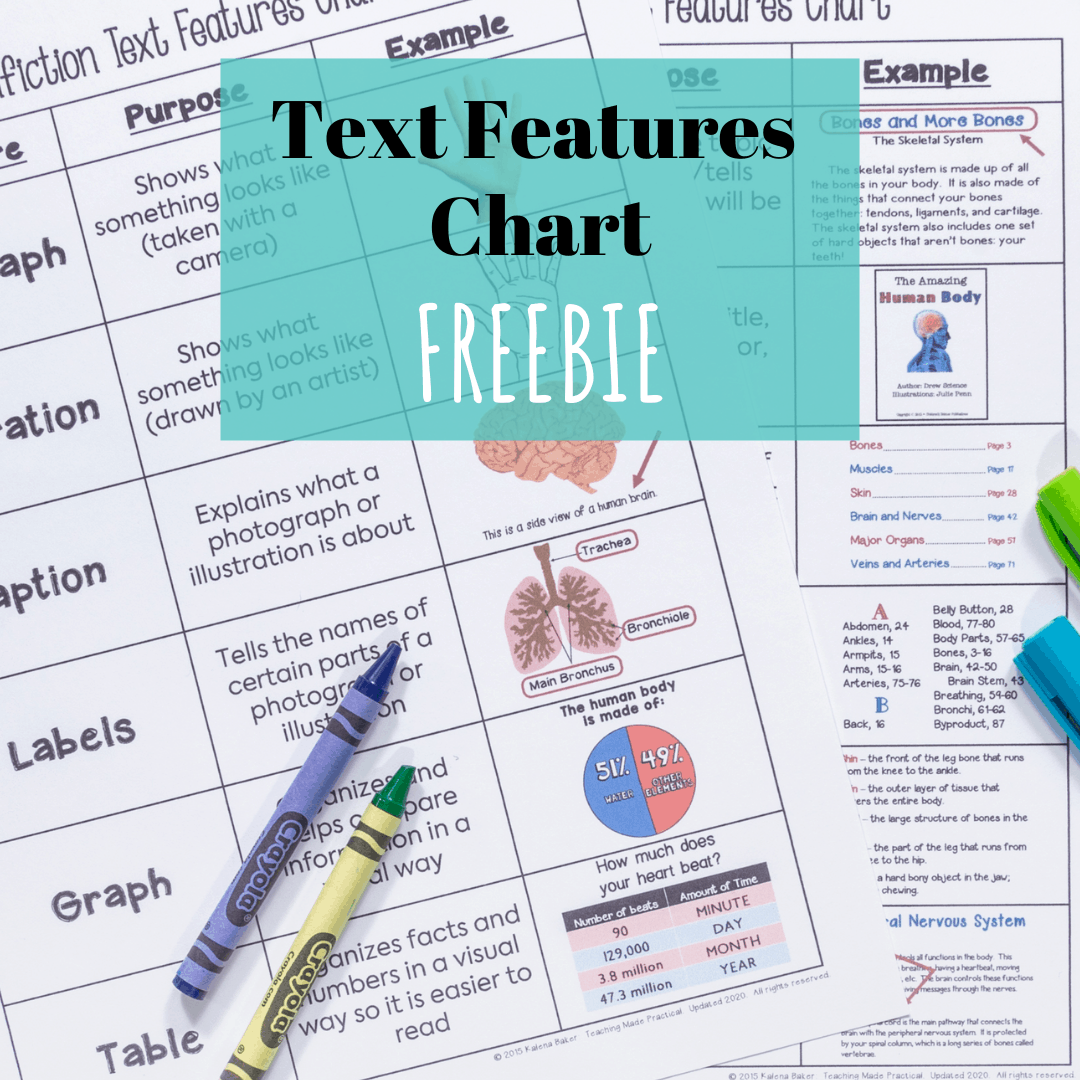
A no prep resource to help your students learn the purposes of the most common text features!